Categories
Linux News, Tutorials, Freebies & Many More
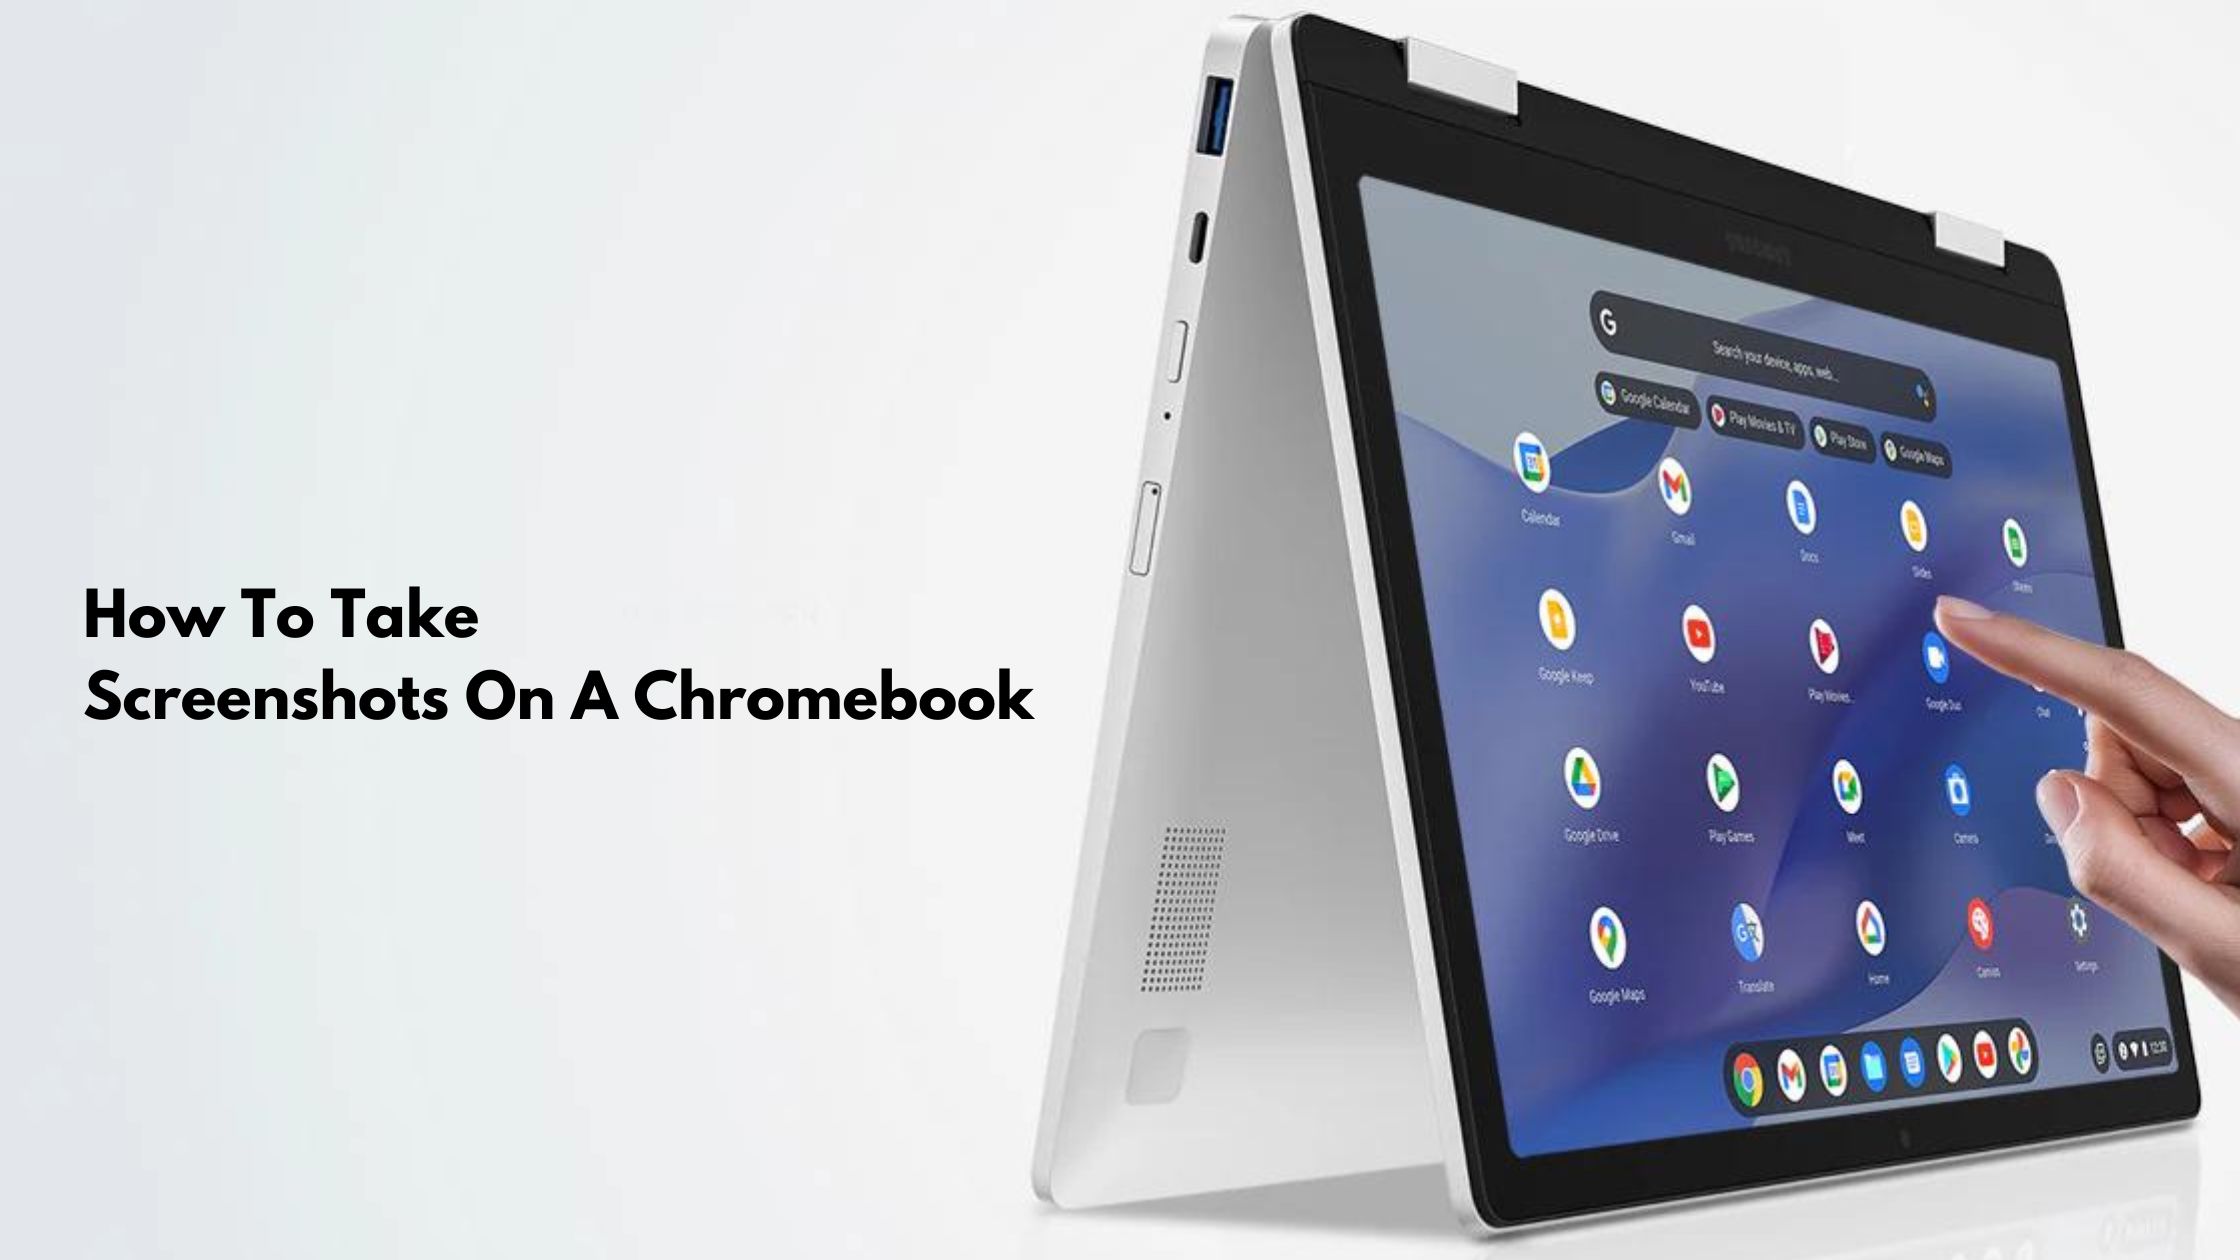
How To Take Screenshots On A Chromebook
In case you are new a Chromebook customers then you definitely might have confusion whilst the usage of it but slowly you will get used to with your Chromebook. It will some distance simpler for you in case you get to know approximately the diverse Google Chromebook keyboard shortcuts.
Let’s have a look into the methods for taking screenshots on Chromebook.
This tutorial is for you if you want to take full screenshot of the entire screen. You just need to simply press the Ctrl key and the “Show all open windows” button at the same time in your Google Chromebook. It will lets you to take a screenshot of the entire screen.
This method is for you if you want to just a screenshot of a part of the screen not like the whole screen.
For taking partial screenshot.
Some other methods that you wants to try
This is the quickest and most convenient way to capture your entire screen.
This method allows you to capture the
Click on the clock in the bottom right corner of your Chromebook shelf to open the Quick Settings menu. There you need to click on the “Screen Capture” icon.
You’ll see three options:
Choose the desired capture option.
If you select “Capture area”, drag your mouse to select the specific area you want to capture. The screenshot will be automatically saved to the “Tote” on your Chromebook shelf and copied to your clipboard.