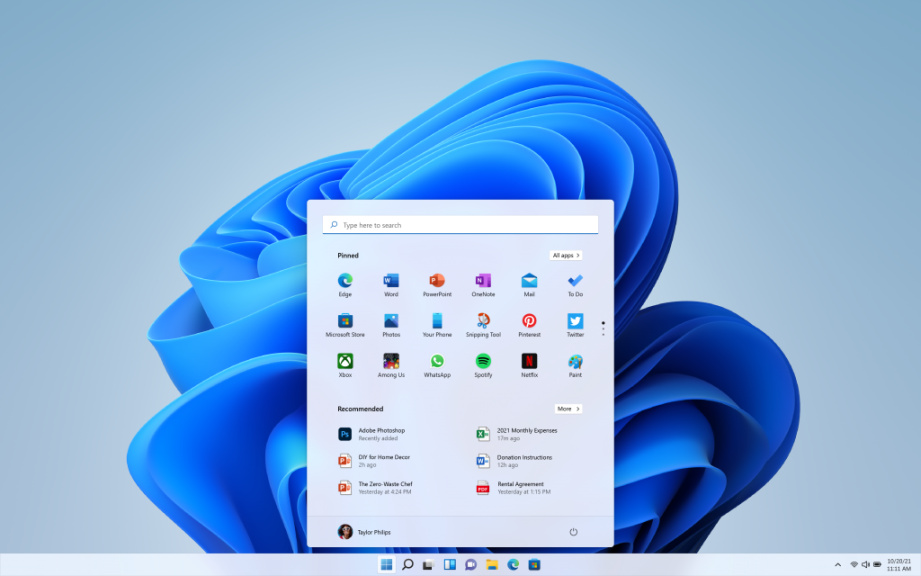
This post shows you the steps to add a second or external monitor in Windows 11. If your work demands using a second monitor then this Windows 11 tutorial post is for you. Once the second monitor is attached correctly to your CPU then you are ready to follow our tutorial to add a second monitor in Windows 11.
How To Add Second Monitor In Windows 11
Follow the steps:
Go to the start menu first and Select Settings > System > Display. Your PC should automatically detect your monitors and show your desktop. Sometimes you might not see the monitors, so you need to select the Multiple monitor’s tile and click Detect.
When you set up a second monitor in Windows 11, Windows will automatically recognize it and configure it with the recommended resolution. If the system doesn’t automatically identify or recognize your second monitor, then follow the steps below to have Windows detect your displays.
Go to the System Settings at first. You can use the Windows key + I shortcut or click on Start ==> Settings to go to the System settings.
In Windows Settings, click System, and select Display tile on the right pane of your window screen shown. Now your PC with Windows 11 should automatically detect your monitors and show your desktop.